 Skip to content
Joint injuries, ligament ruptures, and chronic mechanical pain can severely disrupt your physical potential. Historically, treating these deep joint issues required large, open orthopedic surgeries. These invasive procedures cut through major muscle groups, leading to significant scarring, intense pain, and prolonged recovery times. However, modern medical technology has transformed joint care through a minimally invasive technique called arthroscopy. If you are suffering from a persistent joint issue that requires a highly advanced, keyhole surgical approach, seeking professional Arthroscopy Surgery in Varanasi can help you recover quickly, preserve healthy tissue, and safely restore your joint mobility.
At Ayaansh Ortho Center, our sports medicine and joint care team specializes in state-of-the-art keyhole arthroscopic procedures. We combine surgical precision with personalized physical therapy to restore your active lifestyle. In this highly comprehensive, exhaustively detailed clinical guide, we will analyze what arthroscopy is, its advanced technology, its specific applications in the knee and shoulder joints, its physical benefits, and the step-by-step rehabilitation process.

Why Choose Minimally Invasive Arthroscopy Surgery in Varanasi?
Every joint injury requires a highly detailed surgical approach to preserve healthy, stabilizing tissues. Therefore, choosing specialized Arthroscopy Surgery in Varanasi ensures that you receive a customized, state-of-the-art care plan. An experienced arthroscopic surgeon will evaluate your joint stability and imaging scans before performing keyhole repairs.
Furthermore, delaying surgical stabilization for structural joint tears can cause permanent joint damage. For instance, walking on a torn meniscus or using a shoulder with a torn rotator cuff accelerates arthritis. At Ayaansh Ortho Center, we utilize high-definition arthroscopic cameras to diagnose and treat joint pathologies inside the joint itself. This precise, tissue-preserving technique minimizes pain and accelerates your physical recovery.
Part 1: The History and Technology of Arthroscopy
To begin with, we must examine the history of this advanced surgical technique. The concept of joint visualization dates back to the early 20th century. Specifically, Dr. Severin Nordentoft performed the first knee endoscopy in 1912. Subsequently, Dr. Kenji Takagi and Dr. Masaki Watanabe developed specialized optical lenses to view the interior of human joints. Consequently, their work laid the foundation for modern keyhole surgery. Today, arthroscopic technology has progressed from simple lens tubes to advanced digital systems.
The modern arthroscopic setup relies on several highly advanced, integrated technological systems.
1. The Optical Path and Camera System
- High-Definition Rod Lens System: The arthroscope itself contains a series of precision-aligned glass rod lenses. This system provides a bright, clear image with minimal distortion.
- Camera Sensor Technology: Modern camera heads utilize 3-CMOS or 4K Ultra-High-Definition (UHD) sensors. These sensors capture fine anatomical details and vibrant colors in real-time.
- Fiber-Optic Light Source: Because the interior of a joint is completely dark, a powerful light source is necessary. Specifically, we use LED or Xenon light generators, which transmit cold light through a flexible bundle of glass fibers.
- Angled Scopes: Arthroscopes are available in different angles of view, typically 30 degrees or 70 degrees. This angle allows the surgeon to see around bony corners and inspect hidden joint recesses.
2. Fluid Management System
During surgery, an automated pump system delivers sterile saline or Ringer’s lactate solution into the joint.
- Joint Distension: This constant fluid inflow inflates the joint cavity, separating the bones and giving the surgeon a clear workspace.
- Pressure and Flow Control: The pump monitors intra-articular pressure continuously. This prevents the pressure from rising too high, which could force fluid into the surrounding soft tissues (extravasation).
- Debris Clearance: The flowing fluid continuously washes away blood, loose cartilage fragments, and bone dust, maintaining a crystal-clear view on the monitor.
3. Specialized Hand Instruments
The surgeon performs repairs using miniature manual and motorized instruments.
- Probes: These blunt metal instruments allow the surgeon to feel and palpate the joint structures, checking for hidden cartilage soft spots or tears.
- Punches and Biters: These tools allow the surgeon to trim and remove damaged cartilage or meniscus tissue cleanly.
- Motorized Shavers and Burrs: These tools rotate at high speeds to shave away rough, damaged cartilage edges or remove bone spurs.
- Radiofrequency Ablation (Coblation) Probes: These devices use low-temperature radiofrequency energy to gently dissolve frayed tissue and smooth cartilage surfaces.
- Suture Anchors: These tiny implants, made of biocompatible metal or absorbable material, are screwed directly into the bone. Specifically, they contain pre-threaded high-strength sutures, allowing the surgeon to stitch torn ligaments or tendons directly back to the bone surface.
Consequently, because this technique requires only tiny portal incisions, it causes minimal damage to the surrounding healthy muscles and skin.
Part 2: Knee Anatomy and Biomechanics in Arthroscopy
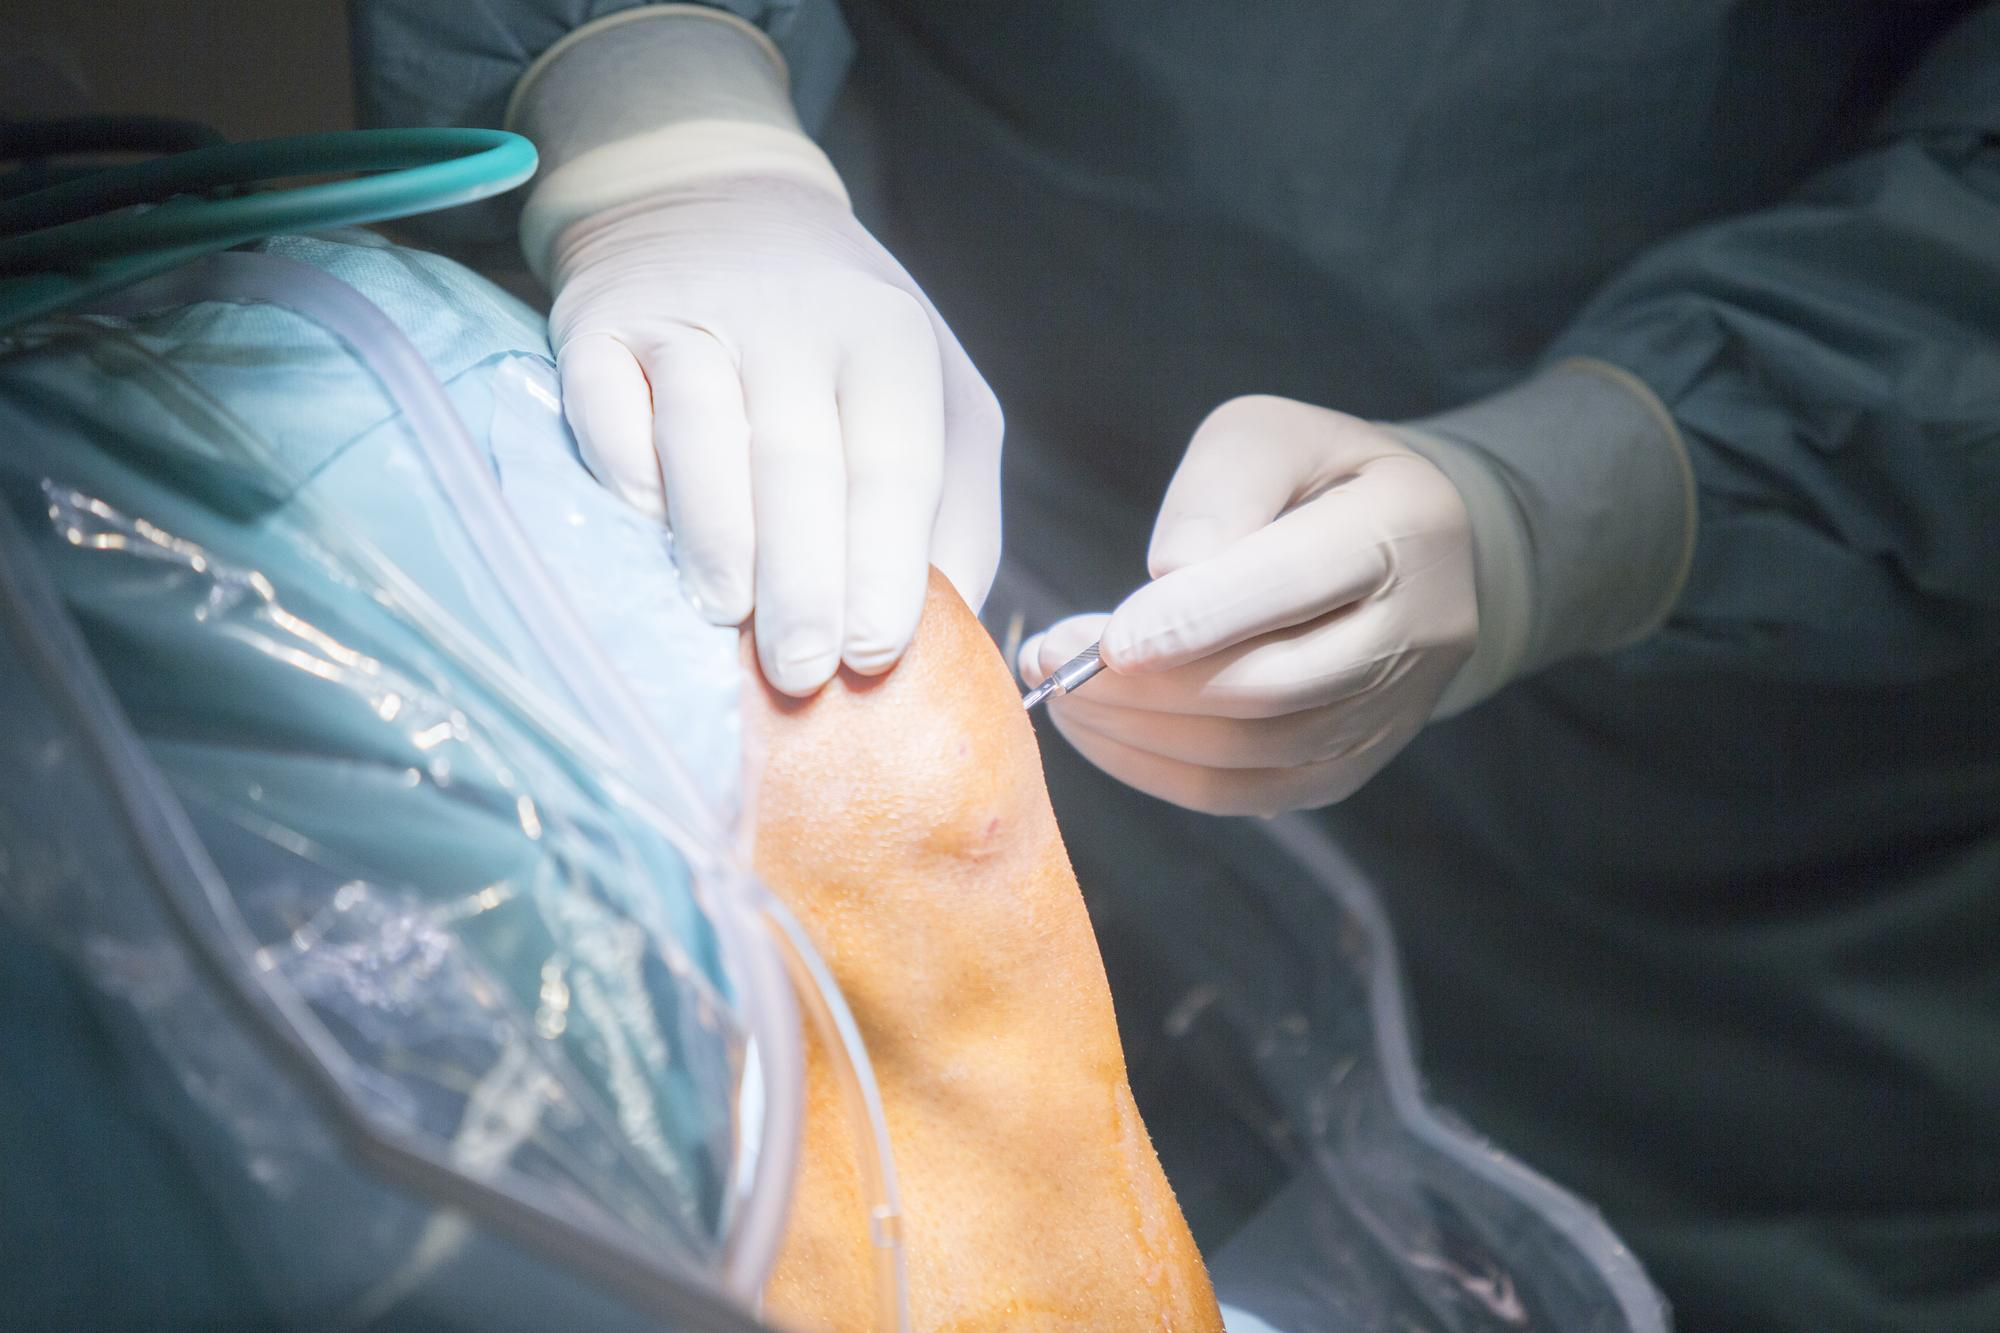
Second, knee arthroscopy is one of the most frequently performed orthopedic procedures. To understand how keyhole surgery repairs knee injuries, we must analyze the joint’s anatomy and biomechanics.
1. The Tibiofemoral and Patellofemoral Joints
The knee is a complex hinge joint that connects three bones: the femur (thighbone), tibia (shinbone), and patella (kneecap).
- Articular Cartilage: A smooth, slippery tissue covers the bone ends. It absorbs shock and allows friction-free gliding. Surgeons use the Outerbridge classification to grade cartilage damage, ranging from Grade 0 (healthy) to Grade IV (bone exposure).
- The Patellar Groove: The patella slides up and down within a groove on the femur (trochlea) during knee bending.
2. The Menisci
The medial and lateral menisci are C-shaped shock-absorbing cartilages located between the femur and tibia.
- Micro-Anatomy: Specifically, the menisci consist of tough fibrocartilage. The collagen fibers are aligned circumferentially to absorb and distribute vertical body weight.
- Vascular Zones: The outer third (red-red zone) has a rich blood supply, while the inner two-thirds (white-white zone) is avascular. This blood supply determines whether a tear can heal.
3. The Cruciate Ligaments
The Anterior Cruciate Ligament (ACL) and Posterior Cruciate Ligament (PCL) cross each other in the center of the knee.
- ACL Anatomy: The ACL consists of two bundles: the anteromedial bundle (stable during bending) and the posterolateral bundle (stable during straightening and rotation).
- PCL Anatomy: The PCL also contains two bundles. It is the primary stabilizer against backward tibia movement.
Clinical Applications: Knee Arthroscopy Surgery in Varanasi
At our clinic, we perform advanced arthroscopic knee procedures to treat complex sports injuries. Consequently, undergoing Arthroscopy Surgery in Varanasi for knee conditions allows for precise anatomical repair with minimal discomfort.
+-------------------------------------------------------------+
|               COMMON KNEE ARTHROSCOPY PROCEDURES             |
+------------------------------+------------------------------+
| ACL/PCL Reconstruction       | Graft replacement for torn   |
|                              | cruciate ligaments           |
+------------------------------+------------------------------+
| Meniscus Repair              | Stitching torn fibrocartilage|
|                              | in the vascular zone         |
+------------------------------+------------------------------+
| Partial Meniscectomy         | Trimming damaged meniscus    |
|                              | in the avascular zone        |
+------------------------------+------------------------------+
| Microfracture Surgery        | Stimulating bone marrow to   |
|                              | repair articular cartilage   |
+------------------------------+------------------------------+
| Synovectomy / Loose Body     | Removing inflamed tissue or  |
| Removal                      | loose cartilage fragments    |
+-------------------------------------------------------------+
1. ACL Reconstruction
When the ACL tears completely, it cannot heal. Therefore, the surgeon must reconstruct the ligament using a healthy tendon graft.
- Graft Selection: The surgeon harvests an autograft from the patient’s own body. Common choices include the patellar tendon, hamstring tendons, or quadriceps tendon.
- Tunnel Drilling: Using specialized drill guides, the surgeon creates precise tunnels through the tibia and femur, placing them exactly at the ligament’s original footprints.
- Fixation: The surgeon pulls the graft through the tunnels, tensions it, and secures it using interference screws or suspensory buttons. If you are recovering from a ligament tear, read our comprehensive guide on ACL Reconstruction Surgery to understand the healing phases.
2. Meniscus Repair vs. Partial Meniscectomy
The surgeon always prioritizes meniscal preservation to protect the joint from long-term arthritis.
- All-Inside Repair: For tears in the outer vascular zone, the surgeon uses advanced suture devices to stitch the tear through a single keyhole portal.
- Inside-Out / Outside-In Repair: For complex tears, the surgeon passes long needles through the meniscus, tying the knots over the outer joint capsule.
- Partial Meniscectomy: If a tear is comminuted or located in the avascular white-white zone, the surgeon trims away only the loose, unstable edges, leaving a stable rim behind.
3. Cartilage Restoration Procedures
For small, localized cartilage defects, the surgeon can perform joint-preserving procedures.
- Microfracture Technique: The surgeon uses a tiny awl to make small holes in the exposed bone. This allows bone marrow cells to form a new, protective layer of fibrocartilage.
- OATS (Osteochondral Autograft Transfer System): The surgeon harvests a small plug of healthy bone and cartilage from a non-weight-bearing area and plugs it into the damaged area.
Part 3: Shoulder Anatomy and Biomechanics in Arthroscopy
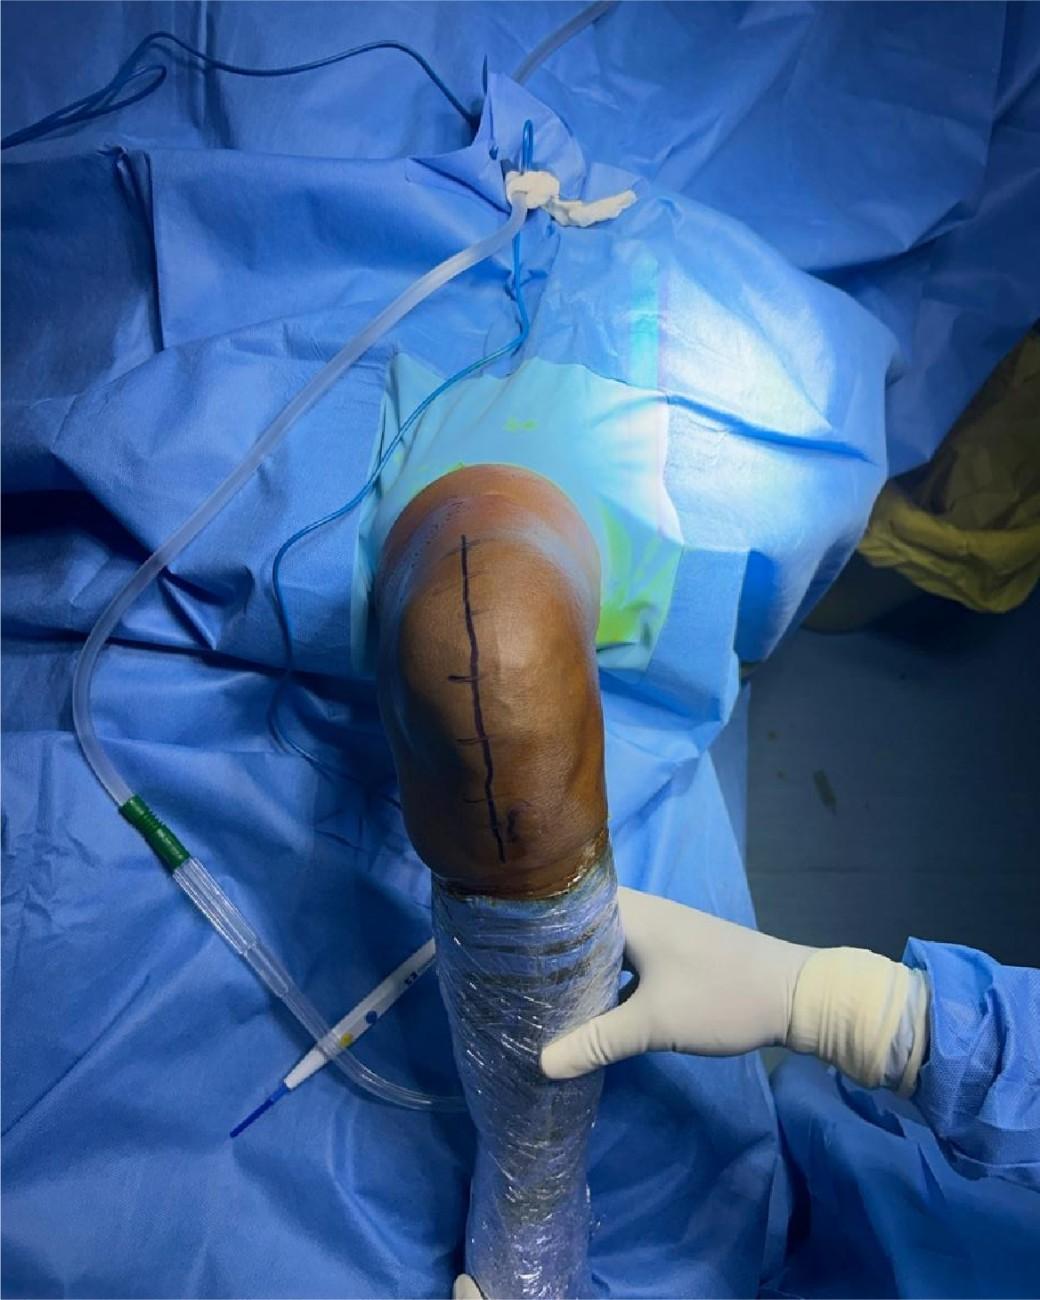
Third, the shoulder is a highly mobile ball-and-socket joint. However, this extreme mobility makes the joint highly prone to instability and tendon tears. Shoulder arthroscopy allows surgeons to treat these deep joint issues without cutting through the major shoulder muscles.
1. The Glenohumeral Joint and Labrum
The humerus head sits inside the shallow glenoid cavity of the shoulder blade, resembling a golf ball on a tee.
- The Glenoid Labrum: A ring of tough, flexible cartilage surrounds the glenoid socket, deepening it by 50% to keep the ball stable.
- The SLAP Complex: The long head of the biceps tendon attaches to the top of the labrum, forming a common site for SLAP tears.
2. The Rotator Cuff
A group of four muscles and tendons—the supraspinatus, infraspinatus, teres minor, and subscapularis—encases the joint, keeping the ball centered in the socket.
3. The Subacromial Space
This narrow space sits between the rotator cuff tendons and the acromion bone above. It is a common site of friction and pinching.
Specialized Shoulder Arthroscopy Surgery in Varanasi

At our clinic, your consultation for Arthroscopy Surgery in Varanasi ensures that we accurately evaluate your joint pathology to determine if keyhole reconstruction is necessary.
+-------------------------------------------------------------+
|             COMMON SHOULDER ARTHROSCOPY PROCEDURES           |
+------------------------------+------------------------------+
| Rotator Cuff Repair          | Reattaching torn tendons     |
|                              | to the humerus bone          |
+------------------------------+------------------------------+
| Subacromial Decompression    | Shaving bone spurs to widen  |
|                              | the tendon pathway           |
+------------------------------+------------------------------+
| Bankart / Labral Repair      | Stabilizing the labrum to    |
|                              | prevent joint dislocations   |
+------------------------------+------------------------------+
| Capsular Release             | Releasing a tight capsule to |
|                              | cure frozen shoulder         |
+------------------------------+------------------------------+
| Biceps Tenodesis             | Reanchoring a painful biceps |
|                              | tendon outside the joint     |
+-------------------------------------------------------------+
1. Rotator Cuff Repair
When the rotator cuff tendons tear, the arm loses its lifting power.
- Suture Bridge Technique: The surgeon inserts tiny suture anchors into the humerus bone. He then passes high-strength sutures through the torn tendon, pulling it down flat against its original footprint. This double-row repair provides a strong, stable healing environment.
2. Subacromial Decompression
Bone spurs on the underside of the acromion bone can pinch the rotator cuff tendons. The surgeon uses a tiny motorized shaver to remove these bone spurs, widening the joint space. If you suffer from pinching pain when lifting your arm, explore our resources on Shoulder Impingement Syndrome to understand how this decompression surgery helps.
3. Bankart Repair for Instability
Recurrent shoulder dislocations can tear the labrum on the lower front part of the socket.
- Anatomical Stabilization: The surgeon inserts suture anchors into the glenoid bone rim. He then uses these sutures to tie the torn labrum and joint capsule back to the bone, restoring joint stability.
4. Biceps Tenodesis vs. Tenotomy
If the long head of the biceps tendon is inflamed or torn inside the joint, it causes severe front shoulder pain.
- Biceps Tenotomy: The surgeon cuts the tendon from its anchor inside the joint, letting it fall. This relieves pain but can cause a cosmetic “Popeye” muscle bulge.
- Biceps Tenodesis: The surgeon cuts the tendon and re-anchors it to the humerus bone outside the joint space, preserving muscle strength and shape.

Part 4: The Patient Journey and Intra-Operative Workflow
Indeed, we must understand what happens during the actual surgical experience. A smooth, well-planned intra-operative workflow is essential for a safe recovery.
1. Anesthesia and Nerve Blocks
To ensure a pain-free experience, the anesthesiologist uses a combination of advanced anesthesia techniques.
- Interscalene Nerve Block: For shoulder arthroscopy, the doctor injects a local anesthetic around the nerve bundle in your neck. This completely numbs your shoulder and arm, providing excellent pain relief for 12 to 24 hours after surgery.
- Spinal or Femoral Block: For knee arthroscopy, a spinal block numbs the lower body, or a local nerve block targets the femoral nerve.
- General Anesthesia: Often combined with regional blocks to keep the patient completely asleep and comfortable during the procedure.
2. Patient Positioning
Proper positioning is critical to give the surgeon access to the joint portals.
- The Beach-Chair Position: For shoulder surgery, the patient is positioned in a semi-sitting position, similar to sitting in a beach chair. This allows excellent access to both the front and back of the joint.
- The Lateral Decubitus Position: The patient lies on their side, and a traction device gently suspends the arm to open the shoulder joint space.
- Knee Positioning: The patient lies flat on their back, and a specialized leg holder keeps the knee bent and stable during the procedure.
3. The Surgical Portals
Portals are tiny keyhole incisions, roughly 5 to 8 millimeters long, through which the surgeon inserts the scope and instruments.
- Knee Portals: The surgeon typically uses the anterolateral portal (for the camera) and the anteromedial portal (for instruments).
- Shoulder Portals: The surgeon uses the posterior portal (for the camera) and anterior/lateral portals (for instruments).

Part 5: Advanced Rehabilitation and Criteria-Based Physical Therapy
A successful outcome depends heavily on your dedication to post-operative physical therapy. Our rehabilitation program is criteria-based, meaning you progress only when your tissues have achieved specific strength milestones.
+-----------------------------------------------------------------------------+
|                             REHABILITATION PHASES                           |
+------------------------------------+----------------------------------------+
| Phase 1: Protection & Homeostasis   | Reduce swelling, control pain, and     |
| (Weeks 1 to 4)                     | activate the supporting muscles        |
+------------------------------------+----------------------------------------+
| Phase 2: Restoring Range of Motion | Gentle passive and active-assisted     |
| (Weeks 5 to 8)                     | movements to break down scar tissue    |
+------------------------------------+----------------------------------------+
| Phase 3: Closed Kinetic Chain      | Progressive strengthening and joint    |
| (Weeks 9 to 12)                    | proprioception (balance) training      |
+------------------------------------+----------------------------------------+
| Phase 4: Dynamic & Eccentrics      | Eccentric strengthening and dynamic,   |
| (Months 3 to 6)                    | sport-specific movement drills         |
+------------------------------------+----------------------------------------+
| Phase 5: Return to Play (RTP)      | High-level agility and functional      |
| (Months 6 to 12)                   | testing to clear the athlete for sports|
+-----------------------------------------------------------------------------+
Phase 1: Protection and Homeostasis (Weeks 1–4)
The primary goals are to protect the healing graft or repair, manage pain, and reduce joint swelling.
- Bracing and Slings: The patient wears a locked knee brace or shoulder sling to prevent accidental loading of the repaired tissues.
- Cryotherapy: Applying ice packs or cold compression therapy helps minimize internal swelling.
- Muscle Activation: Performing simple isometric contractions (such as quad sets or shoulder blade squeezes) to prevent muscle atrophy.
Phase 2: Restoring Range of Motion (Weeks 5–8)
Once tissue healing progresses, the physical therapist guides you through gentle movements.
- Passive Range of Motion (PROM): The therapist gently moves your joint to restore flexibility without active muscle contraction.
- Active-Assisted Range of Motion (AAROM): You begin moving the joint actively while using your healthy hand, a pulley, or a strap for support.
Phase 3: Closed Kinetic Chain and Proprioception (Weeks 9–12)
We focus on rebuilding strength and balance.
- Knee CKC Exercises: Wall slides, mini-squats, and leg presses within a controlled range of motion.
- Shoulder Proprioception: Placing your hand flat on a ball against a wall and performing small circles to train the stabilizing rotator cuff muscles.
Phase 4: Eccentric and Dynamic Strengthening (Months 3–6)
- Eccentric Muscle Training: Slowly lowering weights to remodel the tendon and ligament fibers.
- Agility Drills: Introducing light jogging, lateral shuffling, and coordinate movements.
Frequently Asked Questions (FAQs)
1. Is arthroscopy a major surgery?
While arthroscopy is a highly sophisticated surgical procedure, it is considered minimally invasive. Specifically, because it requires only tiny keyhole incisions, it is much less traumatic to the body than traditional open joint surgery.
2. What type of anesthesia is used during arthroscopic surgery?
The type of anesthesia depends on the joint being operated on. Typically, shoulder arthroscopy requires general anesthesia combined with a regional nerve block. In contrast, knee arthroscopy can be performed under spinal anesthesia or general anesthesia.
3. How long does an arthroscopic procedure take?
Most diagnostic and simple therapeutic arthroscopic procedures take between 30 to 60 minutes. However, complex ligament reconstructions or multi-tendon repairs can take 1.5 to 2 hours.
4. Can I go home on the same day as my arthroscopy?
Yes. The vast majority of arthroscopic knee and shoulder procedures are outpatient surgeries. Consequently, once you recover from the initial anesthesia, you can return home on the same day.
5. Will I have scars after keyhole surgery?
You will have 2 or 3 tiny scars, each about half an inch long, at the site of the surgical portals. Because these incisions are very small, they heal quickly and leave minimal, faint scars.
6. When can I return to sports after ACL reconstruction arthroscopy?
Returning to high-impact, competitive sports typically takes 9 to 12 months. Specifically, the new ligament graft requires this time to mature and gain full physical strength. The athlete must pass rigorous functional agility tests before returning to play.
7. What is subacromial decompression in shoulder arthroscopy?
Subacromial decompression is an arthroscopic procedure used to treat shoulder impingement. Specifically, the surgeon shaves away bone spurs on the underside of the acromion bone to widen the space for the rotator cuff tendons, relieving pain.
8. Is physical therapy necessary after arthroscopy?
Yes. Post-operative physical therapy is absolutely critical. Specifically, a structured rehabilitation program ensures that the joint regains its full range of motion, muscle strength, and dynamic stability, preventing permanent stiffness.
9. What are the common risks associated with arthroscopic surgery?
Arthroscopy is extremely safe. However, as with any surgical procedure, potential risks include minor wound infections, temporary nerve irritation, blood clots in the calf, or localized joint stiffness.
10. How soon can I drive after knee or shoulder arthroscopy?
You can typically drive within 2 to 4 weeks of surgery. However, this depends on which leg or arm was operated on, the type of car you drive (manual or automatic), and your overall pain levels. You must never drive while taking prescription pain medications.
11. Can arthroscopy help cure severe, end-stage knee osteoarthritis?
Arthroscopy is not recommended for treating advanced, end-stage osteoarthritis. Specifically, keyhole surgery cannot rebuild cartilage that has already worn away completely. For end-stage arthritis, a joint replacement surgery is the most effective solution.
12. What are the signs of a successful arthroscopy recovery?
A successful recovery is characterized by a gradual reduction in joint pain, a steady return of your joint’s full range of motion, and a significant improvement in your muscle strength and joint stability.

Expert Care at Ayaansh Ortho Center
At Ayaansh Ortho Center, we are committed to providing the leading Arthroscopy Surgery in Varanasi to help you restore your mobility.
Ayaansh Ortho Center, Opposite Starbucks, Nagwa Lanka, Varanasi, provides comprehensive diagnosis and treatment for shoulder disorders, sports injuries, arthritis, fractures, and spine conditions. Dr. Anand Saurabh (MBBS, MS Orthopaedics), Gold Medalist from IMS BHU with over 10 years of experience, specializes in arthroscopy, arthroplasty, trauma care, and evidence-based orthopedic management. Patients receive personalized treatment plans designed to relieve pain, restore movement, and improve long-term quality of life.
